As the winter season approaches, it’s important to ensure that your air compressor is properly prepared for the colder temperatures. Whether you use your air compressor for personal or professional purposes, taking the necessary steps to winterize it can prevent potential damage and prolong its lifespan. By following a few simple yet crucial steps, you can safeguard your air compressor from freezing temperatures and ensure its optimal performance when spring rolls around again. So, let’s dive in and explore the essential steps to winterize an air compressor.
Understanding the Need to Winterize
Importance of winterization
Winterizing your air compressor is essential to ensure its proper functioning and longevity. Cold temperatures can have a significant impact on the components of your compressor, leading to potential damages and reduced performance. By winterizing, you can protect your air compressor from freezing, corrosion, and other issues that may arise during the colder months.
Potential damage from not winterizing
If you neglect to winterize your air compressor, you risk encountering a range of problems. The most immediate concern is freezing. When water accumulates in the compressor’s tank, hoses, and valves, it can freeze and cause internal damage. This can lead to burst pipes, cracked seals, and malfunctioning valves. Additionally, without proper winterization, the moisture within the compressor can result in rust formation and reduced efficiency.
Benefits of winterizing your air compressor
Winterizing your air compressor offers several advantages. Firstly, it prevents freezing and subsequent damage, ensuring that your compressor remains in good working condition. By taking the time to winterize, you can minimize repair costs and extend the lifespan of your equipment. Winterization also helps maintain the efficiency of your compressor, allowing it to deliver optimal performance when you need it most. Lastly, it provides peace of mind, knowing that your compressor is protected and ready to withstand the challenges of the winter season.
Knowing Your Air Compressor
Identifying type of air compressor
Before you can properly winterize your air compressor, it’s important to identify the type of compressor you have. There are different types, such as reciprocating compressors and rotary screw compressors, each with its own unique features and maintenance requirements. Consult your compressor’s manual or contact the manufacturer for specific information on your compressor’s type and model.
Understanding manufacturer’s guidelines
To ensure the best winterizing process for your air compressor, it’s crucial to understand and follow the manufacturer’s guidelines. The manufacturer’s manual will provide specific instructions on maintenance, including steps for winterizing. This will include details on recommended oil types, procedures for draining the tank, and any additional considerations based on your compressor’s design. Following these guidelines will help prevent any damage or void warranties.
Familiarizing with compressor’s key components
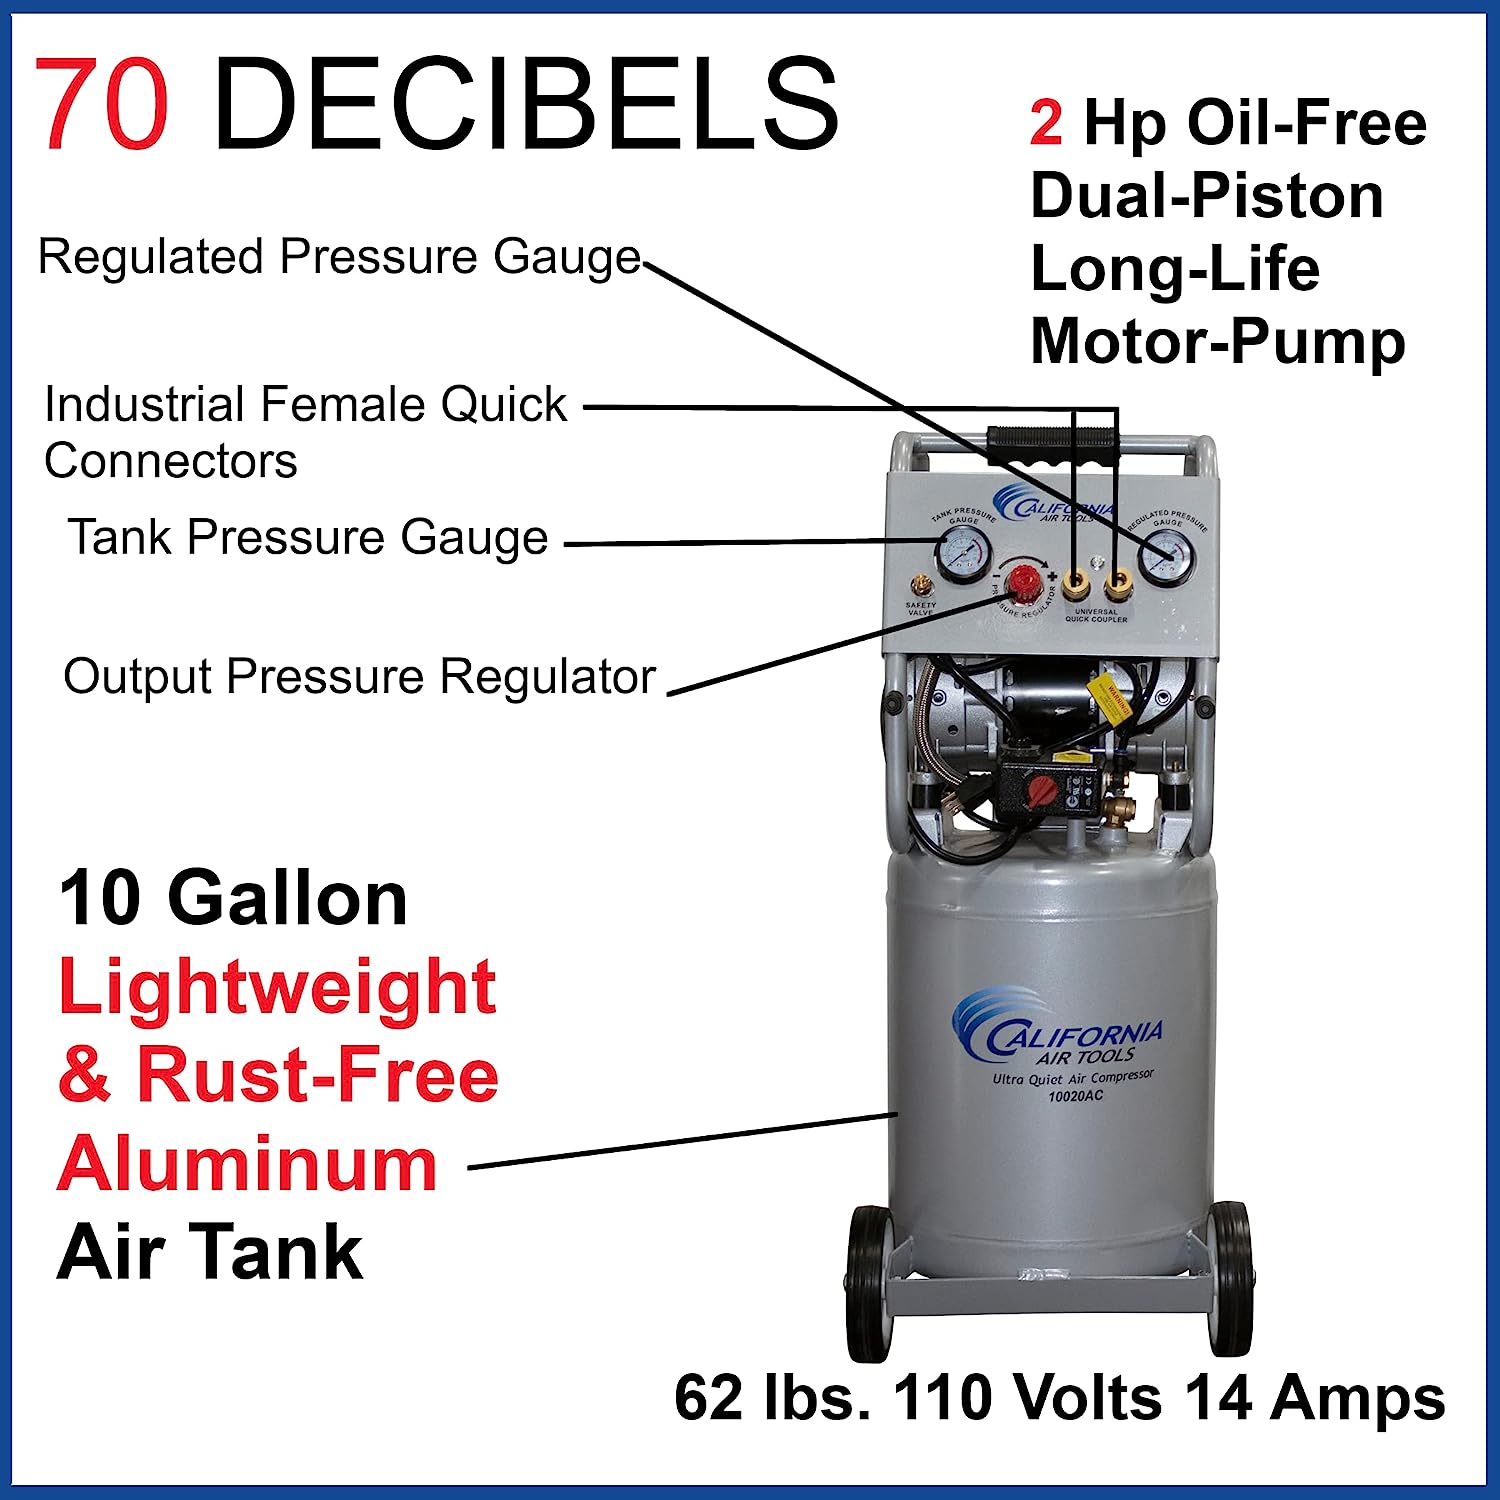
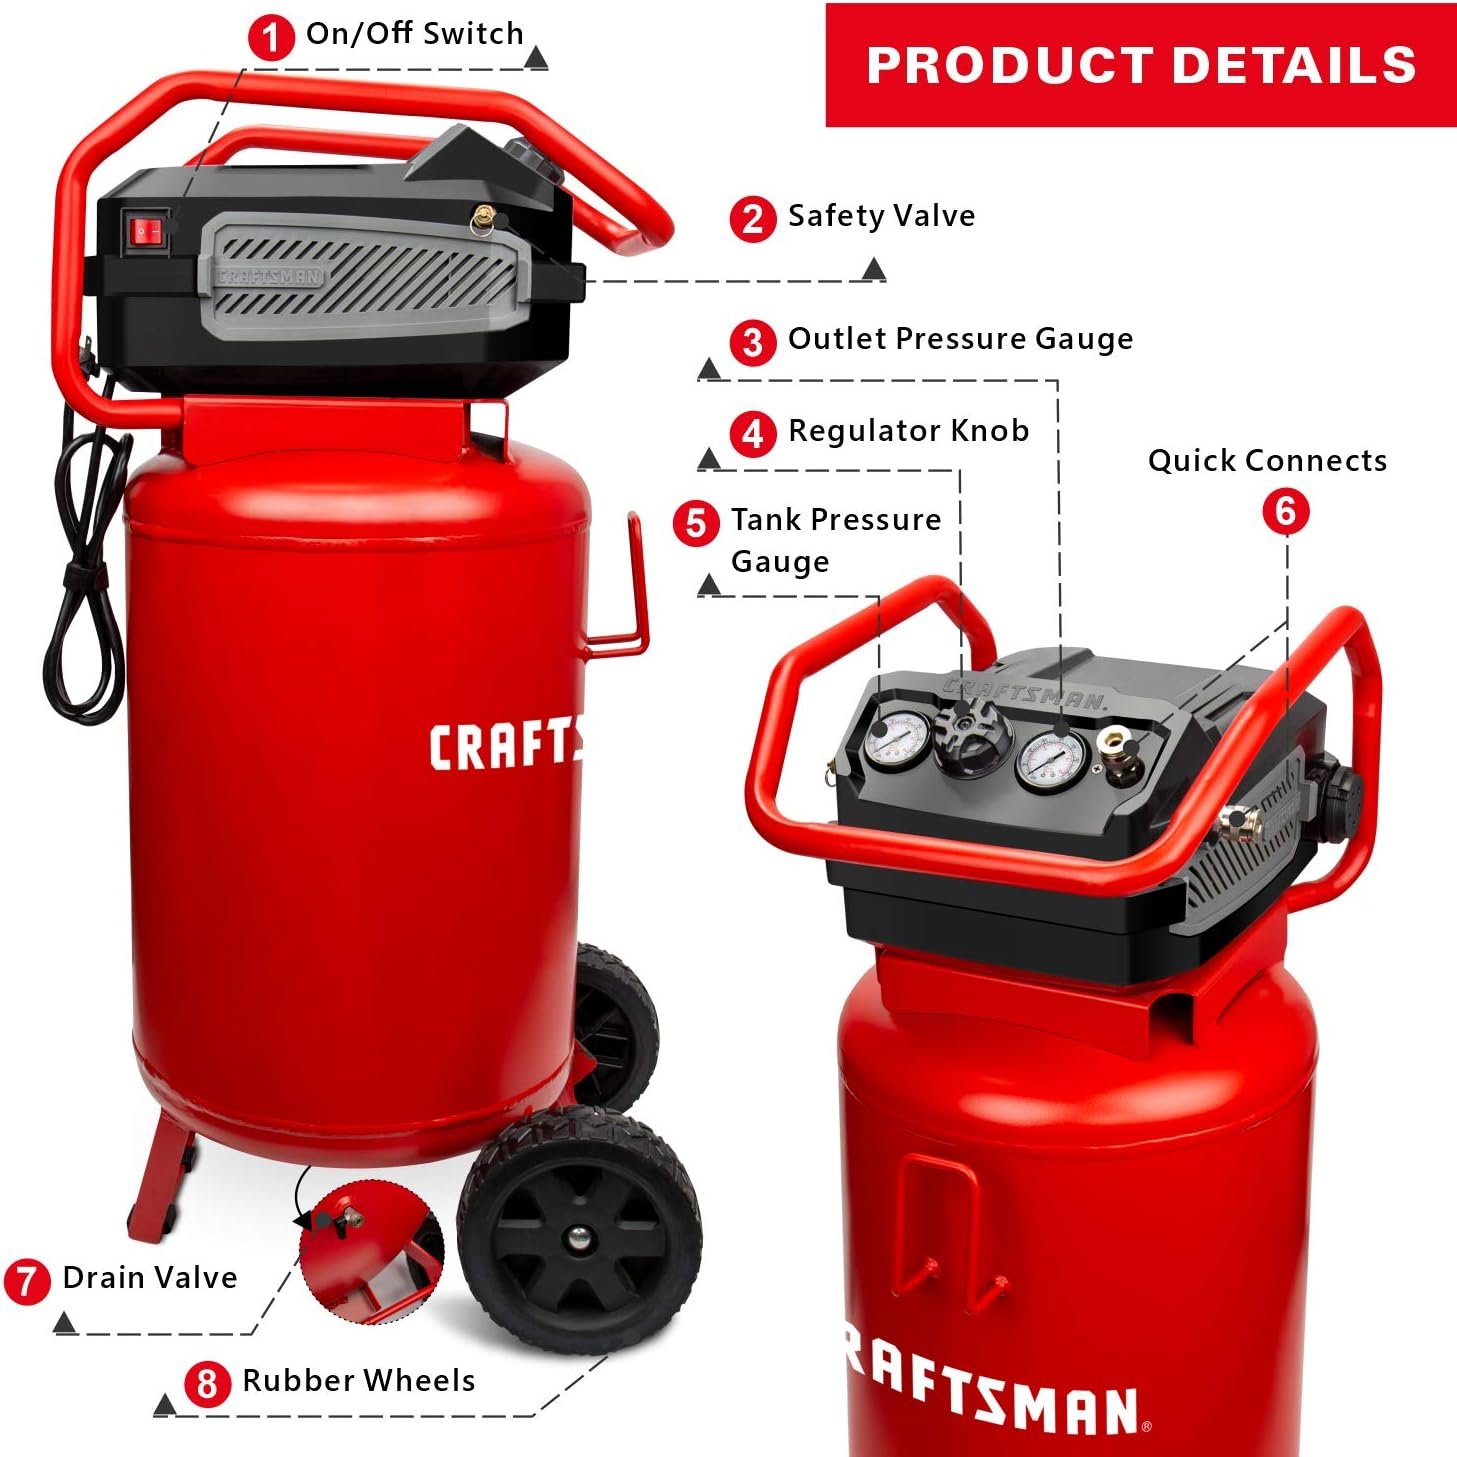
To effectively winterize your air compressor, it’s important to have a basic understanding of its key components. Familiarize yourself with the compressor’s tank, pressure switches, control valves, hoses, and fittings. This knowledge will enable you to properly assess their condition, identify any vulnerabilities, and perform necessary maintenance tasks. Understanding the function and location of these components will also facilitate the winterization process.
Checking the Condition of the Compressor
Assessing the physical condition
Before proceeding with winterization, carefully inspect your air compressor for any signs of physical damage or wear. Look for dents, cracks, or corrosion on the tank, valves, and fittings. Check for loose or damaged wires and hoses. Identifying any issues beforehand will allow you to address them promptly and prevent further damage during the winter season.
Checking for prior damages
In addition to assessing the current condition of your air compressor, it’s crucial to check for any prior damages that may have gone unnoticed. Look for leaks, loose connections, or signs of previous repairs. Ensure that all repairs have been properly addressed and that there are no potential vulnerabilities that could worsen due to cold temperatures. If necessary, consult a professional technician to inspect and repair any existing damages.
Testing functionalities
To guarantee that your air compressor is in proper working order before winterizing, conduct tests to assess its functionalities. Turn on the compressor and observe if it builds pressure correctly, if the pressure gauge is accurate, and if it operates smoothly without any unusual noises or vibrations. Testing the functionalities will help identify any issues that need to be addressed before proceeding to winterization.
Draining the Air Compressor Tank
Why it’s crucial to drain the tank
One of the most critical steps in winterization is draining the air compressor tank. The tank accumulates moisture over time, and if left unchecked, this moisture can freeze and cause significant damage. Draining the tank removes any excess water and prevents it from freezing during the winter. This not only protects the tank but also the entire air compressor system.
Steps to drain the tank
To drain the air compressor tank, follow these steps:
- Ensure the compressor is turned off and disconnected from the power source.
- Locate the drain valve, typically located at the bottom of the tank.
- Place a suitable container or bucket underneath the drain valve to collect the water.
- Slowly open the drain valve, allowing the water to flow out completely.
- Close the drain valve tightly once all the water has been drained.
- Repeat the process periodically throughout the winter season to ensure moisture does not accumulate.
Safety practices during draining
When draining the air compressor tank, it’s necessary to take certain safety precautions. Wear protective gloves and goggles to prevent any potential injuries. Ensure the compressor is powered off, and avoid touching any hot components. Additionally, be mindful of the water draining from the tank, as it may be hot or contain oil residue. Proper safety practices will help you carry out the task safely and effectively.
Inspecting and Changing the Air Filter
Locating the air filter
The air filter plays a crucial role in protecting the internal components of your air compressor from dust, debris, and contaminants. Locate the air filter, which is typically situated near the intake or on the compressor pump. Refer to your compressor’s manual for the exact location if you’re unsure.
Assessing the air filter’s condition
Inspect the condition of the air filter to determine if it needs to be cleaned or replaced. A dirty or clogged air filter can inhibit airflow, reducing the performance of your air compressor. If the filter appears dirty or damaged, it’s advisable to replace it to ensure optimal performance and prevent potential issues during winter operation.
Steps for changing the air filter
To change the air filter, follow these steps:
- Make sure the air compressor is turned off and disconnected from the power source.
- Unscrew the housing cover, gently remove the air filter, and set it aside.
- Clean the filter housing or replace it if damaged.
- Install the new air filter securely, ensuring it is properly aligned.
- Screw the housing cover back into place.
- Refer to your compressor’s manual for any specific instructions or considerations.
Checking and Replacing Compressor Oil
The role of compressor oil
Compressor oil is crucial for lubricating the internal components of your air compressor, reducing friction, and maintaining optimal performance. Over time, the oil may become contaminated or deteriorate, making it necessary to check and replace it periodically, especially before winterizing.
How to check the oil level
To check the oil level, follow these steps:
- Ensure the air compressor is turned off and disconnected from the power source.
- Locate and remove the oil filler cap or dipstick.
- Wipe the dipstick or cap clean and reinsert it into the oil reservoir without screwing it in.
- Remove the dipstick or cap, and observe the oil level indicated on it.
- If the oil level is significantly below the recommended level, add oil of the appropriate type and quantity.
Steps for replacing the compressor oil
To replace the compressor oil, follow these steps:
- Prepare a suitable container to collect the old oil.
- Open the drain valve to allow the old oil to drain completely.
- Close the drain valve tightly once all the oil has been drained.
- Add the recommended type and quantity of new oil through the oil filler cap or designated oil inlet.
- Reinstall the oil filler cap or dipstick.
- Dispose of the old oil safely and responsibly.
Guarding Against Freezing
Using antifreeze solutions
To protect your air compressor from freezing, consider using antifreeze solutions. These solutions are specifically formulated to lower the freezing point of water, preventing it from solidifying and damaging the compressor. Follow the manufacturer’s instructions and guidelines for the appropriate type of antifreeze solution and the recommended quantity for your specific compressor model.
Insulating the compressor
Insulating your air compressor can provide an extra layer of protection against freezing temperatures. Wrap insulation material, such as foam sleeves or blankets, around exposed components and piping. Focus on areas prone to freezing, such as the tank, valves, and hoses. Ensure that the insulation is secure and covers the entire length of the components to effectively retain heat and prevent freezing.
Storing in a warm, dry place
If possible, store your air compressor in a warm and dry indoor area during the winter months. Cold temperatures and moisture can hasten the deterioration of the compressor’s components. By keeping it in a controlled environment, you can minimize the risks associated with freezing, corrosion, and other weather-related damage. Ensure the storage area has adequate ventilation and is away from any potential hazards.
Inspecting and Protecting Piping
Examining piping for vulnerabilities
Inspect the air compressor’s piping system for any signs of vulnerabilities that could lead to freezing or damage. Look for cracks, leaks, or ill-fitments in the pipes and fittings. Tighten loose connections and repair any damages promptly. Insulating the piping will also help protect against freezing and ensure the proper flow of air during the winter season.
Insulating air lines
To protect your air compressor’s air lines from freezing, insulate them with foam sleeves or other suitable insulation materials. Ensure that all exposed sections of the air lines are covered, including connections and fittings. Insulation will help maintain the temperature and prevent the air lines from freezing or developing condensation that could lead to moisture-related issues.
Addressing leaks and ill-fitments
It’s crucial to address any leaks or ill-fitments in the air compressor’s piping system before winterizing. Leaks can lead to air pressure loss and compromise the compressor’s efficiency. Tighten fittings, repair or replace damaged pipes, and ensure all connections are secure. By addressing these issues, you can prevent further damage and maintain the performance of your air compressor throughout the winter season.
Regular Cleaning and Maintenance
Daily maintenance tasks
Performing daily maintenance tasks is essential for the proper functioning of your air compressor. This includes checking for oil leaks, monitoring pressure levels, and inspecting the overall condition of the compressor. Clean any dust or debris from the exterior and ensure that the intake vents are clear. Regularly wipe down the control panel and check for any warning signs or error messages.
Weekly cleaning routines
In addition to daily maintenance, it’s beneficial to establish a weekly cleaning routine. This involves cleaning or replacing the air filter, checking and adjusting belt tensions if applicable, and inspecting the compressor for any loose or damaged components. Regularly cleaning your air compressor will help keep it in optimum working condition and extend its lifespan.
Regular health checks
Periodically conducting thorough health checks on your air compressor is crucial for long-term performance and reliability. This involves inspecting and testing the electrical connections, monitoring the oil level and quality, and assessing the overall sound and vibration levels during operation. Document any irregularities or issues for prompt attention and consult the manufacturer’s guidelines for recommended intervals of comprehensive maintenance.
Preparing for Emergency Situations
Having a well-equipped toolkit
When winterizing your air compressor, it’s essential to have a well-equipped toolkit readily available. This toolkit should include basic hand tools such as wrenches, pliers, and screwdrivers for performing routine maintenance and addressing minor repairs. Additionally, keep spare parts like fuses, belts, and gaskets on hand in case of emergencies. Being prepared with the necessary tools will help you tackle any unexpected issues that may arise during the winter season.
Knowing emergency shut-off procedures
Accidents or malfunctions may occur despite all precautions. Therefore, it’s vital to familiarize yourself with the emergency shut-off procedure specific to your air compressor. Whether it’s a quick-release valve, an emergency shut-off switch, or unplugging the power cord, knowing how to shut off the compressor quickly and safely can prevent further damage and ensure the well-being of individuals nearby.
Training on basic troubleshooting techniques
Equip yourself with basic troubleshooting techniques for your air compressor. Understanding common issues and their solutions will help you address minor problems without delay. Familiarize yourself with troubleshooting resources provided by the manufacturer, attend training sessions if available, and consult professionals for guidance when needed. Being able to troubleshoot effectively will save time, prevent unnecessary repairs, and keep your air compressor operating smoothly.
By following these comprehensive steps to winterize your air compressor, you can protect it from potential damage, maintain its efficiency, and ensure optimal performance throughout the colder months. Taking the time and effort to properly winterize will benefit you by extending the lifespan of your air compressor and minimizing future repair costs. Remember to always consult the manufacturer’s guidelines and seek professional assistance when necessary. Stay proactive and safeguard your air compressor from the challenges of winter.

Joey has over 15 years of experience in the air compressor industry. As a senior test manager at Pneumatic Performance Labs, he oversees all testing and evaluation of air compressors. Known for his technical expertise and leadership, Joey has built a strong team of engineers who provide trusted third-party testing capabilities to air compressor companies nationwide.